Introduction:
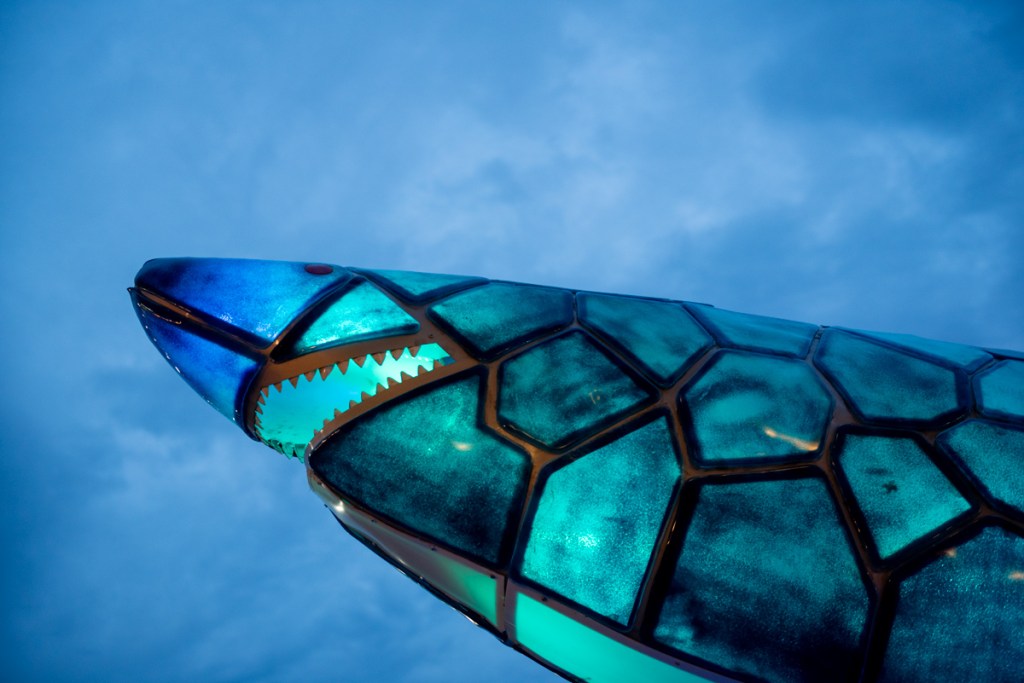
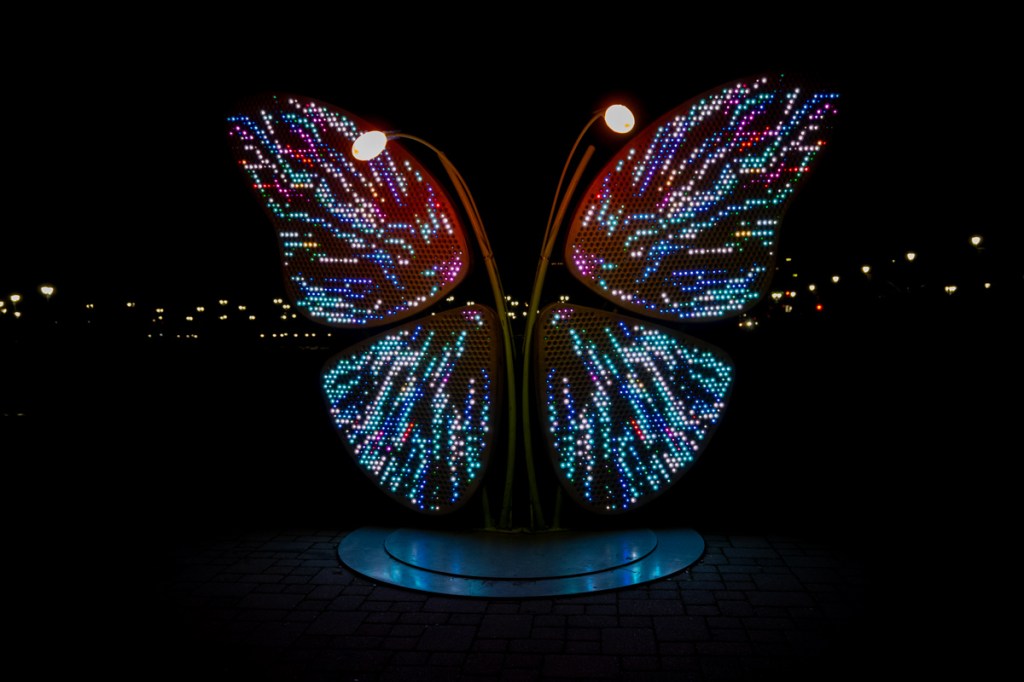
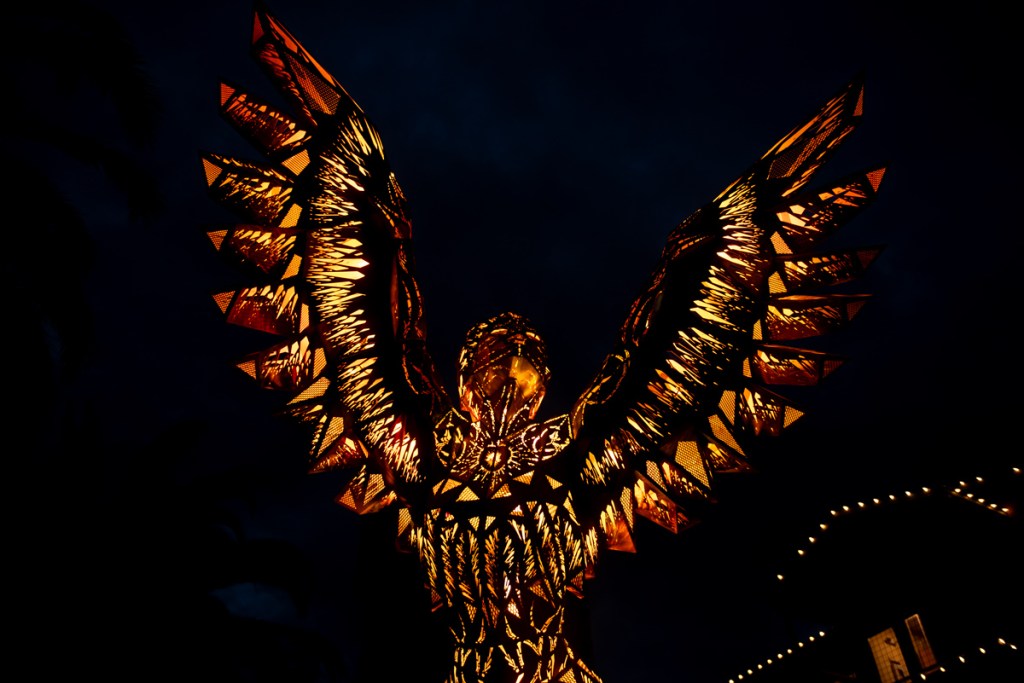
The Napa Lightened Festival is a dazzling celebration of lights, colors, and creativity that transforms the city into a vibrant canvas of neon wonders. As a photographer, this event provides a unique opportunity to capture the mesmerizing glow and energy of neon lights. In this blog post, we will explore tips and settings for night photography, focusing on bringing out the best in neon light photography at the Napa Lightened Festival.
Planning and Preparation:
Before heading to the festival, it’s crucial to plan your photography session. Familiarize yourself with the festival layout and identify key locations where the neon displays are most impressive.
Camera Settings for Neon Lights:
Night photography, especially when capturing neon lights, requires specific camera settings to achieve the best results. Here are some recommended settings:
a. ISO: Start with a low ISO setting (around 100-400) to minimize noise in your images.
b. Aperture: Use a wide aperture (small f-number) to allow more light into the camera. An aperture between f/1.8 and f/4 is ideal for capturing the bright and vivid colors of neon lights.
c. Shutter Speed: Set a shutter consistent with the focal length of your lens. I prefer wide angle lenses (24-50 mm) and set the shutter speed to about 1/60 s. Look through the live view finder and adjust the settings as needed. I like to meter for the lights and have everything else around fall into blackness. Generally, no tripod is needed with these settings.
d. White Balance: Adjust the white balance to the “tungsten” or “fluorescent” preset to enhance the vibrant colors of neon lights, or shott raw.
Framing and Composition:
Neon lights offer endless opportunities for creative compositions. Experiment with different angles, perspectives, and framing to make your photos visually compelling.
Patience and Timing:
Capture the magic of the Napa Lightened Festival by being patient and waiting for the perfect moments. Pay attention to the changing colors, patterns, and intensity of the neon lights. Be ready to adapt your camera settings on the fly to accommodate the dynamic nature of the festival.
Post-Processing:
Once you’ve captured your images, bring them to life with post-processing. Adjust the brightness, contrast, saturation, and sharpness to enhance the vibrant colors of the neon lights. Consider experimenting with creative filters or adding a subtle vignette to draw attention to the central elements in your composition.
Conclusion:
The Napa Lightened Festival provides a captivating backdrop for photographers to explore the enchanting world of neon lights. By planning, utilizing the right camera settings, and embracing creativity in framing and composition, you can create stunning images that capture the essence of this vibrant celebration. So, grab your camera, set up your tripod, and immerse yourself in the magical glow of the Napa Lightened Festival. Happy shooting! This year, the festival goes from January 18 – February 16. The images below are from 2024.


______________________________
Wall Art landscapes and miscellaneous
________________________________

Leave a comment