On a previous post, I wrote about my newest project photographing dry leaves. I mentioned a few advantages of working in projects over taking random photos and wrote that I was going to blog about the making of “Folhas secas” as I go along.
One consideration when starting any project is answering the follwoing question: what am I trying to say? “Folhas secas” was born out of my fascination with the form, shape, and texture of two dry tropical leaves. That gives me the foundation for my answer: I want other people to look at and pay attention to the form, shape, and texture of leaves that are past their prime and are already dry. I want to show that there is beauty in transmutation.
Another consideration in the beginning of a project is to lay out a few guidelines. This will minimize distractions, decrease the number of decisions the photographer must make for every photo, and ensure that the resulting photographs are compatible in style. For example, I knew from the beginning what I wanted to work in black and white, on a dark background, and have as much depth of field as possible without compromising detail. I also decided that I was going to work with a clean subject (free of debris, hairs etc).
After I clarified my vision and rules, I took several pictures of the dry leaves I found around, using a narrow aperture (f/16-f/20), natural and artificial light. I shot from an angle, from above, from close, then backed off.
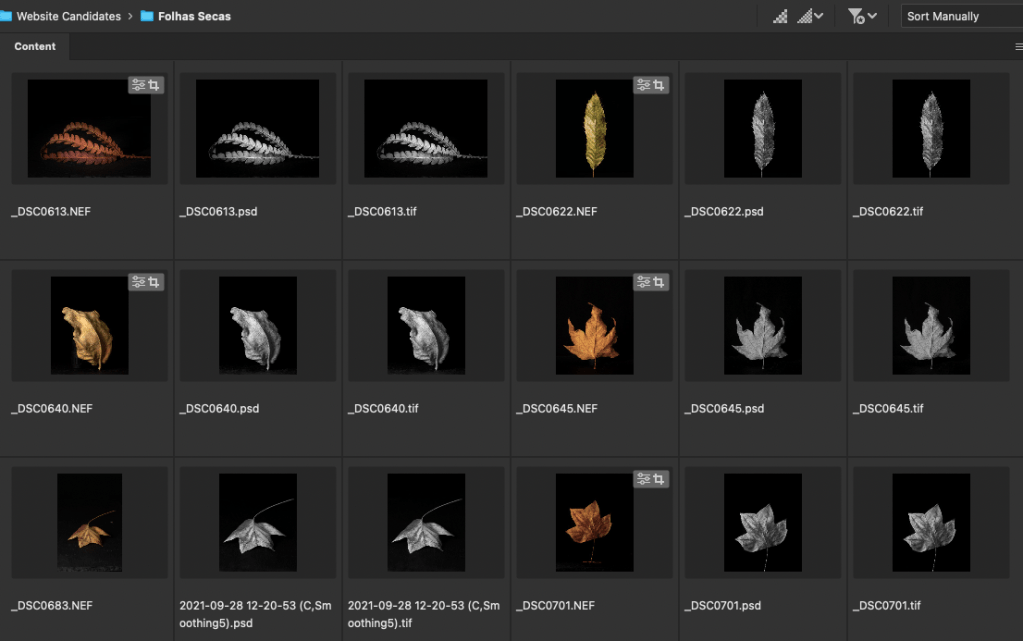
Above is a snapshot of my initial efforts, in my Adobe Bridge (AB) catalog, consistent with the file workflow outlined on a previous post. In my AB Dry Leaves folder, I store the Raw file for each shot, the processed PSD file with layers, and the final Tiff file with one layer. Whenever I make changes to the Photoshop file, I save it as a tiff after flattening the image. The Tiff file will be the file I will send to the printer.
Summarizing (my way of) working in projects:
- Decide what I want to say with my project;
- Lay down a few guidelines for the execution of the project (background, depth of field, color versus black and white);
- Take several shots using those first, general guidelines;
- Organize my photos in a folder with the raw file and two processed versions, one in photoshop format, and one in tiff format.
In my next post, Folhas secas, part three, I share my setup with artificial light, designed to reveal the texture and detail of the thick leaves i find in California.

Leave a comment